My brother Patrick had a surprise birthday party orchestrated by his fiancé Kelly. Great company and great food! Even the kids had soo much fun dancing and running around the place. For his birthday I made him 2 cakes to accomodate 50 plus friends and relatives.
 |
| Birtday boy greeted by his Gorilla friend. |
 |
Peace sign Bronze and Saluting Charisma with their cousins. Some
of the kids at the party. |
 |
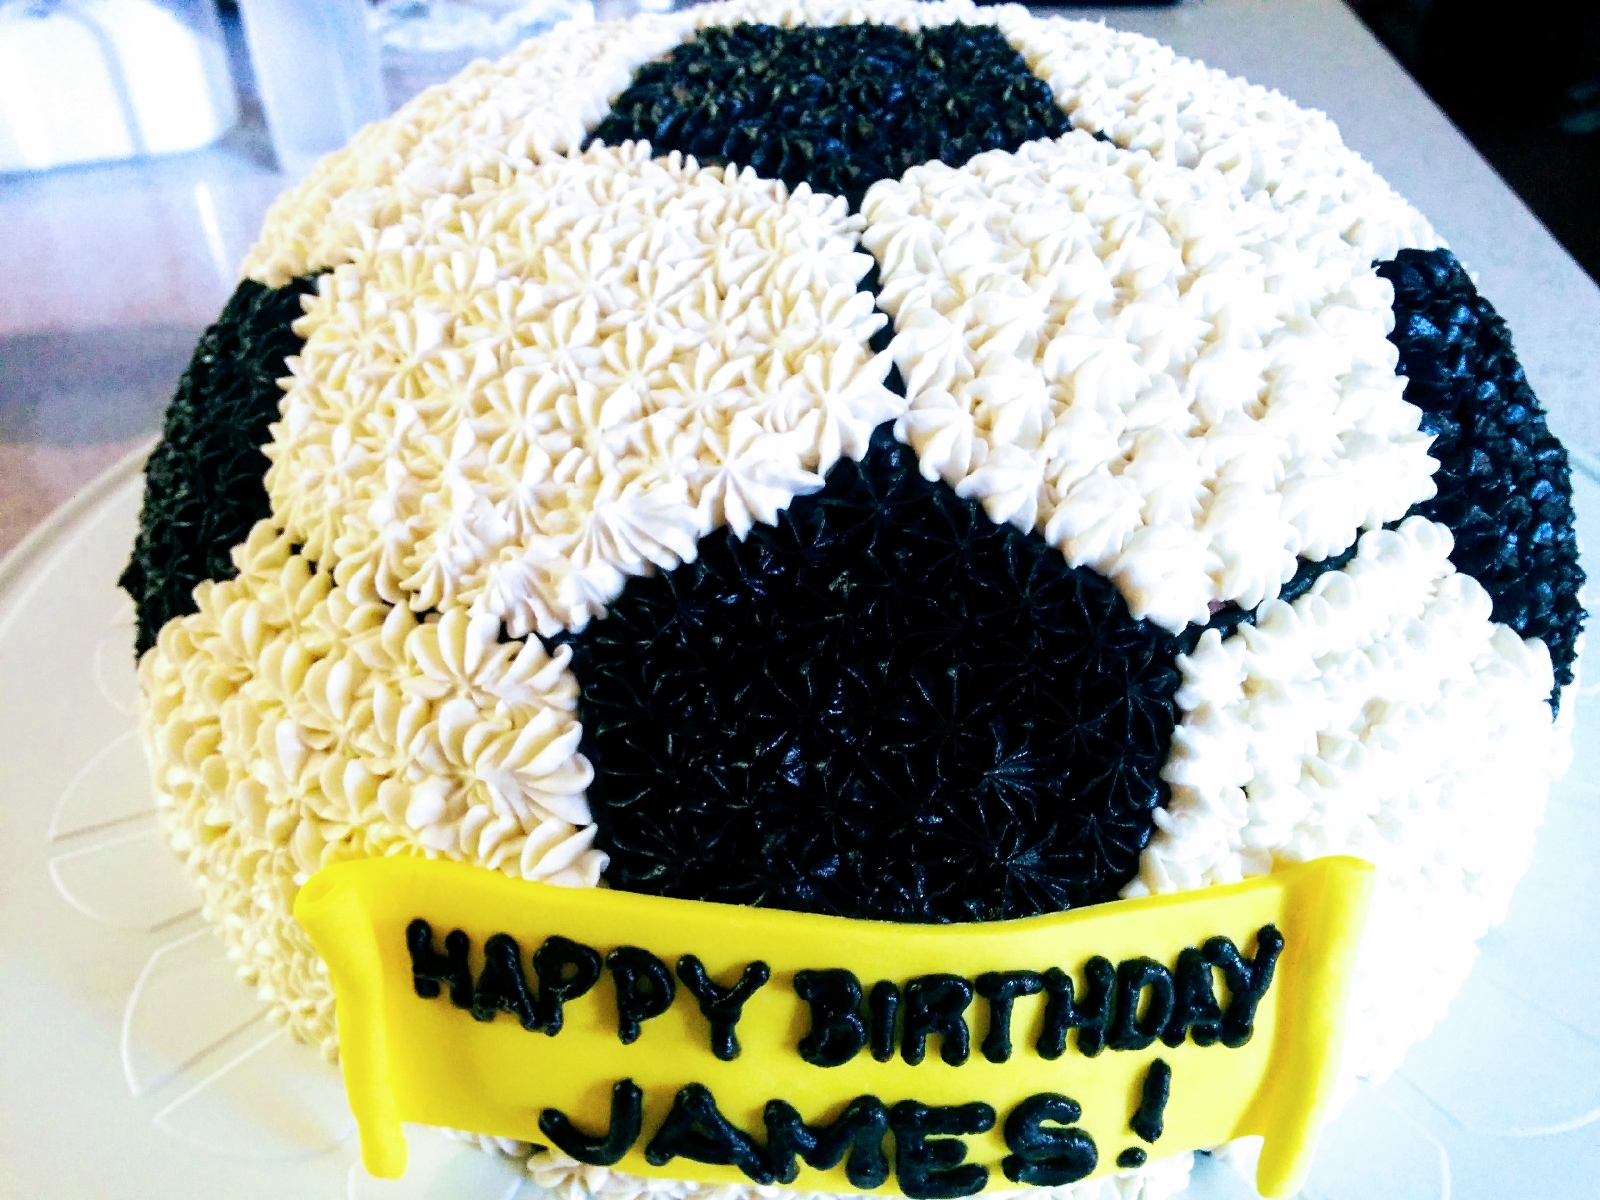
We want CAKE!!!
|
TOTORO CAKE!
Patrick's favourite Hayao Mayasaki anime character from the anime "My Neighbour Totoro". Its a giant fluffy mystical thing that protects little kids. Here is how I made it....
 |
| Finished product Totoro. |
 |
| Cake pans I used: three 8" round and one Wilton Doll Mould. |
 |
Stacked the cake this way. It is important to bake the cake a day
before sculpting and decorating. This step is important specially
if you are working with chiffon or sponge cake. It is better if you
freeze the cake prior to sculpting. |
 |
| Inserted 3 regular straws for stabilization. |
 |
Trimmed edges. Applied crumbcoat after and chilled for 20 minutes
or until icing is firm. |
 |
Added the snout. Added arms at the side of the body. To make
the snout and arms I used a combination of crumbled cake and frosting
which creates a pudding like mixture. |
 |
| Birthday boy and Kelly |
 |
Ube and Mocha cake layers. Cut the back of
the cake first! |
MINION CAKE!
Its a minion themed party so there has to be a Minion cake. This is how I made it...
 |
Started with rice crispies base. To make it
proportional the height has to be 2x bigger than
the width of the minion. Tip: Melt marsmallow in
microwave for softer and more malleable rice crispies treats . |
 |
Refrigerate for 1 hour. Add a thin layer of frosting to
smooth out the bumps on the rice crispies and refrigerate.
After refirgeration you may cover with fondant. |
 |
Made the legs a week a head of time. To dry them out. 100 % fondant except
for the safety monocles. Safety monocles are spice rack lid. I made everything
proportional to the monocles so I don't have to worry about making one.
NOTE: Next time make the eyes flat and brush with pipping
gell to create "glass" effect. |


Comments